
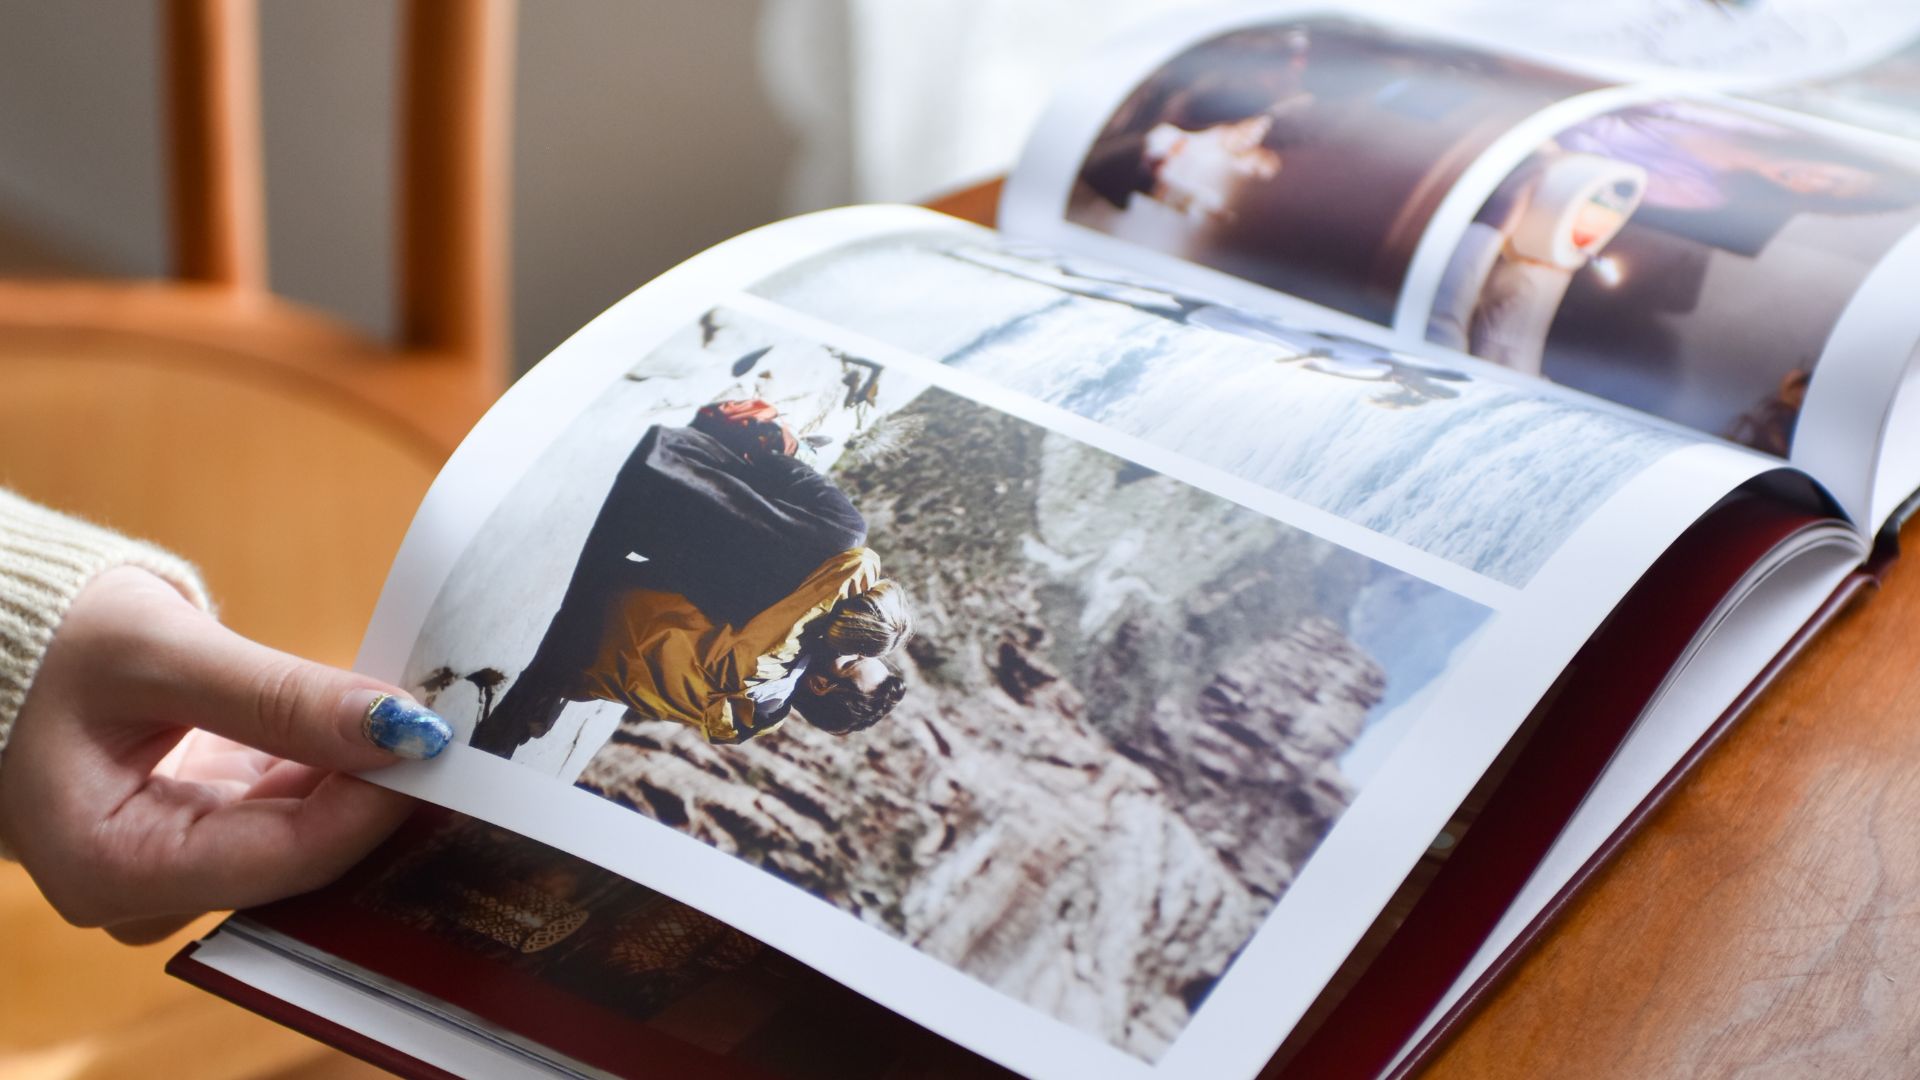
You know that nostalgic, ooey-gooey feeling you get when flipping through old photo albums? Well, photobooks capture that same magic; just in a neater, cuter, and more vibrant package. No loose photos slipping out, no sticky plastic sleeves – just beautifully curated memories in a book that lasts. And wouldn’t it be wonderful for your kids to experience that same joy when they look back on their own childhood memories?
Yes, we live in the digital age, where Instagram and Google Drive store thousands of photos. But nothing beats holding your memories in your own two hands, flipping through pages filled with your life’s best moments. A photobook is the perfect way to preserve and showcase your stories; whether it’s a wedding album, a travel diary, a baby’s first-year keepsake, or a heartfelt gift.
If you’re new to making one, don’t worry! This step-by-step guide will walk you through the process, making it easy and enjoyable to create a photobook that you (and your family) will treasure for years to come.
Step 1: Gather and Organize Your Photos
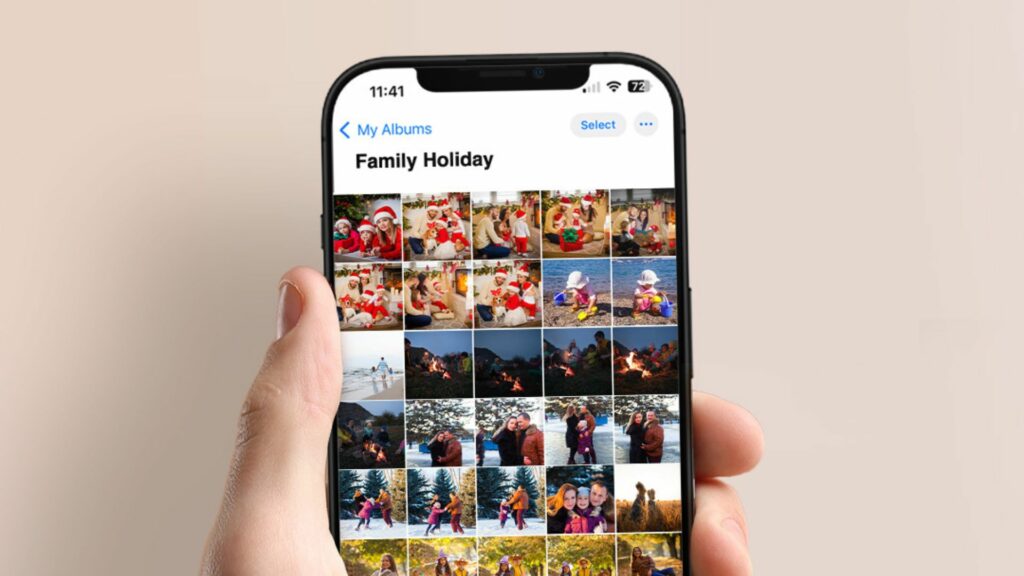
Before jumping into the design, start by selecting the best photos for your photobook. Here’s how:
- Choose a theme: Will it be a wedding album, a collection of family moments, a year-in-review, or a fun photo dump organized by themes like cafe-hopping, selfies, or color tones?
- Sort your photos: Go through your digital albums and pick high-resolution images. The higher the resolution, the better they’ll look in print. Especially for larger photobooks.
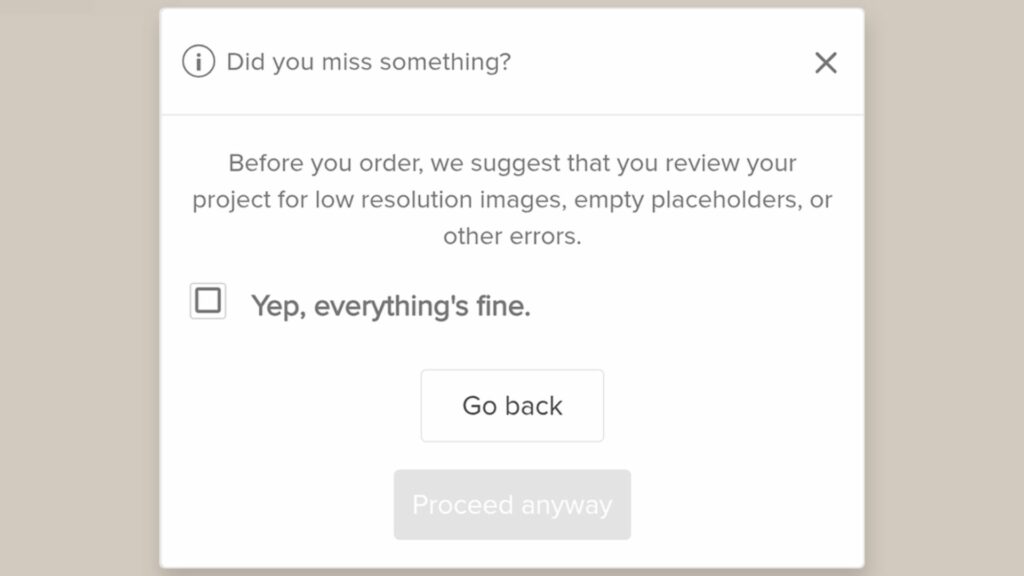
⚠️ P/S: Don’t worry, our online editor will notify you if a photo’s resolution is too low for printing! - Declutter: Remove blurry, duplicate, or unnecessary shots to keep your photobook sleek and polished.
- Create folders: Organize your chosen photos chronologically or thematically to make the design process go smoother.
Step 2: Select the Right Photobook Style
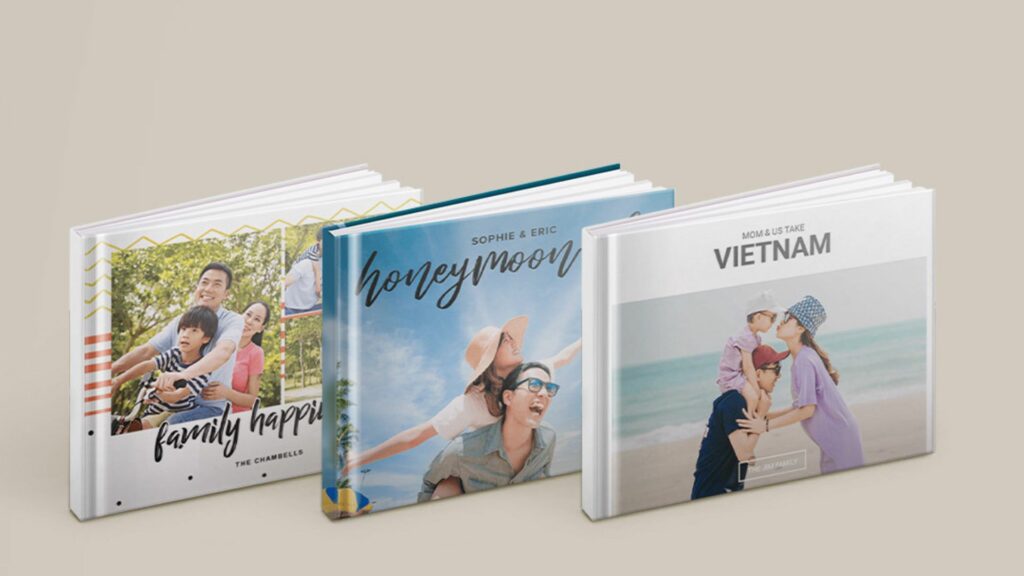
Photobooks come in different sizes, formats, and finishes, so pick one that fits your vision:
- Cover types: Choose from Imagewrap, Softcover, Debossed or Deluxe hardcover, blending elegance with lasting quality.
- Size matters: Small books are great for personal moments and casual photo dumps, medium-sized books work well for travel memories or baby albums, and large books are ideal for grand occasions like weddings and travel adventures.
- Binding options: Go for layflat binding for seamless spreads, flush mount binding for thick and luxurious pages, or standard binding (formerly perfect binding) for a timeless, book-like feel.
- Paper quality: Select Freelife Satin for vibrant colors, Lustre for a subtle pearlescent glow, or matte for a shine-free, elegant look. For an extra boost, ColorUp! 7-colour printing makes images pop with life-like vibrancy.
Step 3: Design Your Photobook Layout

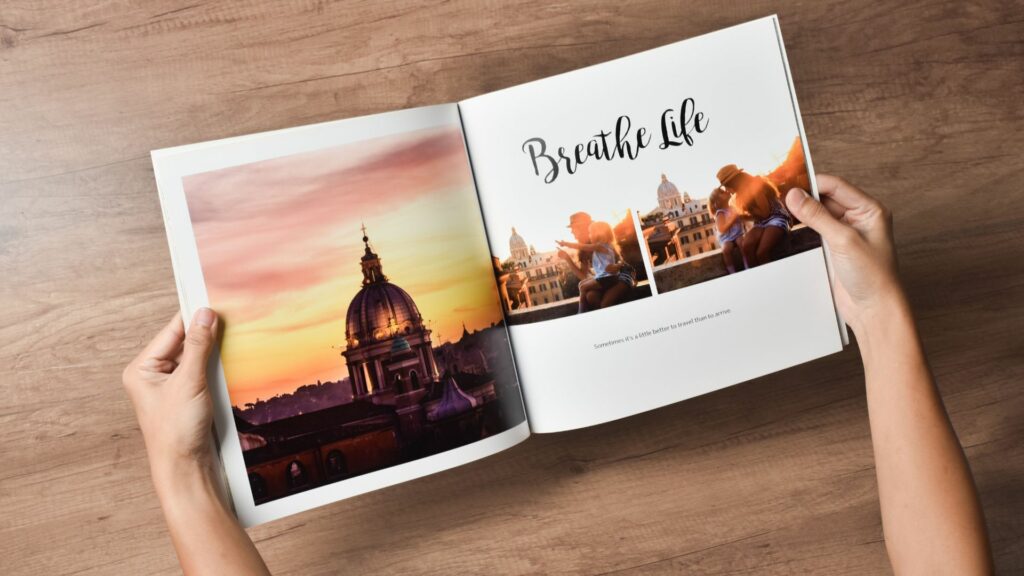
Now the fun begins! Our photobook editor offers a range of easy-to-use tools to bring your vision to life:
- Use templates: Our expert designers have hundreds of beautiful, pre-designed layouts to help structure your book effortlessly.
- Balance is key: Mix single-photo pages with multi-photo layouts for variety and visual appeal.
- White space is your friend: Avoid overcrowding pages. Yes, it’s tempting to squeeze in every photo, but trust us, letting images breathe makes them shine!
- Stay consistent: Stick to a cohesive color scheme and font style for a polished look.
Step 4: Add Personal Touches
Photos are nice and all, but with our memory being what it is, it’s nice to add little personal notes and anecdotes to better remember the occasion. It doesn’t even have to be in paragraph form. You can also do:
- Captions and dates: Add text to give context to your memories.
- Backgrounds and clipart: Enhance pages with subtle designs that match your theme.
- Meaningful quotes: Include personal messages or favorite quotes to make it extra special.
Step 5: Review and Finalise
Before placing your order, take a moment to double-check everything.
- Proofread captions: Avoid typos for a polished finish. Nothing hurts more than getting a beautiful book only to stop dead on the last page when you realise you misspelt one thing (And this is coming from personal experience 🥲).
- Check image quality: Ensure all photos are high resolution to prevent pixelation.
- Use the preview feature: Flip through the digital version to ensure smooth storytelling and a natural flow.
Step 6: Print and Enjoy Your Photobook!

Once you’re happy with your design, place your order and get ready to relive your memories in a beautifully printed photobook. Whether it’s for yourself or as a heartfelt gift, it’s a keepsake that will be cherished for years to come.
💡 Pro Tip: Keep an eye out for photobook promotions to score the best deals on your order!
Creating a photobook is an easy, rewarding process. Follow these steps, unleash your creativity, and turn your favorite moments into a timeless keepsake.
Happy memory making!