
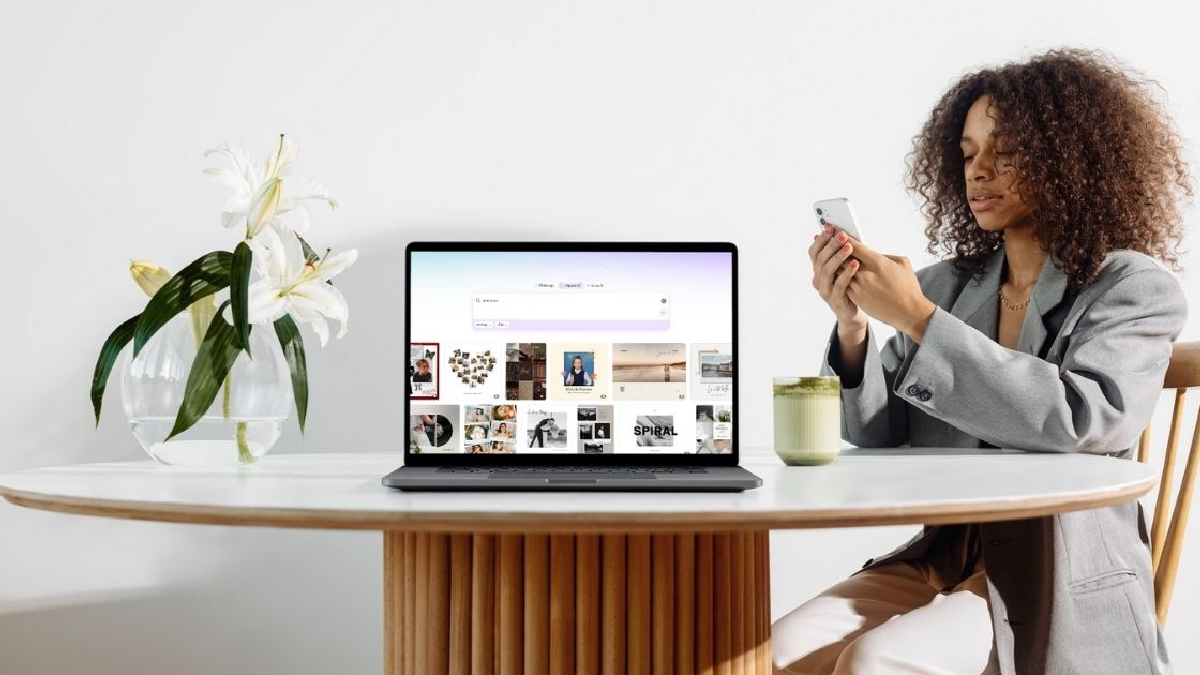
Canva makes it simple and enjoyable to design your own photobook. With a wide range of features and templates available on desktop, mobile, and tablet, it’s perfect for users of all levels—even beginners with no design experience.
Step 1: Open Canva and Search for “Photobook”
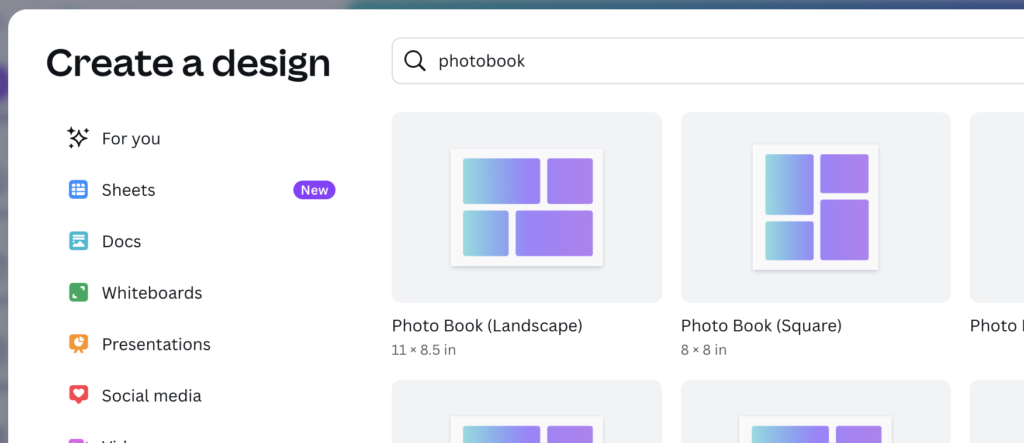
Open the Canva app or visit the website, then type “Photobook” into the search bar. You’ll find a wide variety of ready-made templates, including themes for travel, weddings, family memories, and special gifts.
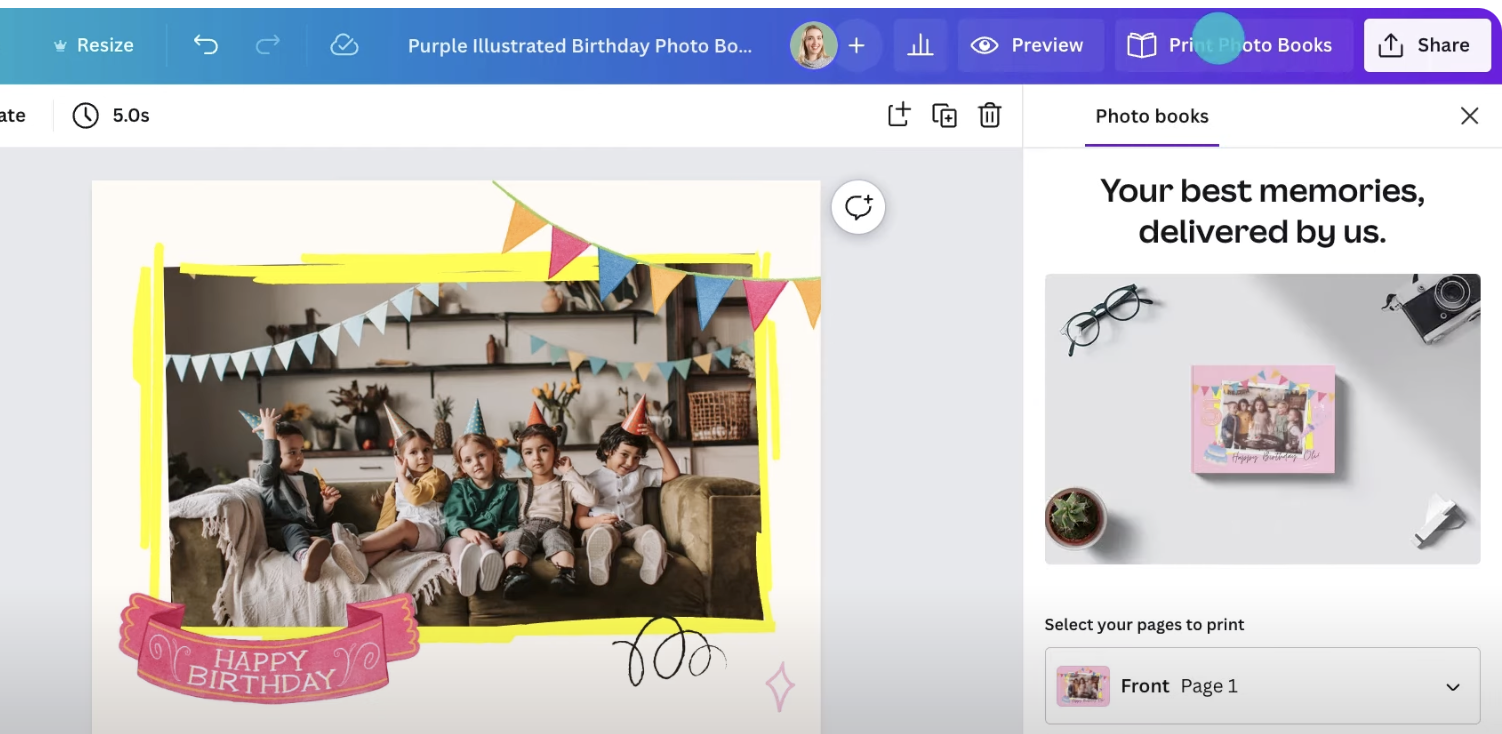
Step 2: Choose Your Favorite Template
Each template comes with a complete set of pre-designed pages that support multi-page photo layouts. Choose horizontal, square, or vertical formats—Canva’s free plan supports popular sizes like 11×8.5 inches and 8×8 inches.
Step 3: Start Customising Your Book
- Upload photos from your phone or computer
- Drag and drop your images into the template, or rearrange as you like
- Edit text, fonts, background colors, and add creative elements freely
- Use Canva’s photo editing tools such as filters, brightness adjustments, borders, or black & white effects to add depth to your photos
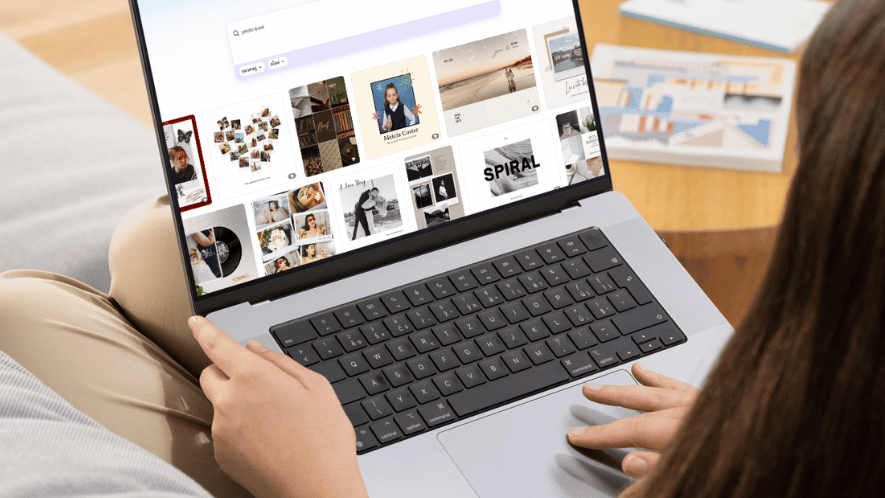
Step 4: Conveniently Design on Mobile Too
With the Canva app, you can grant access to your photo library and select multiple images at once for your photobook. Cropping, repositioning, and adding captions can all be done easily right from your phone—no computer needed.
Step 5: Download Files for Printing
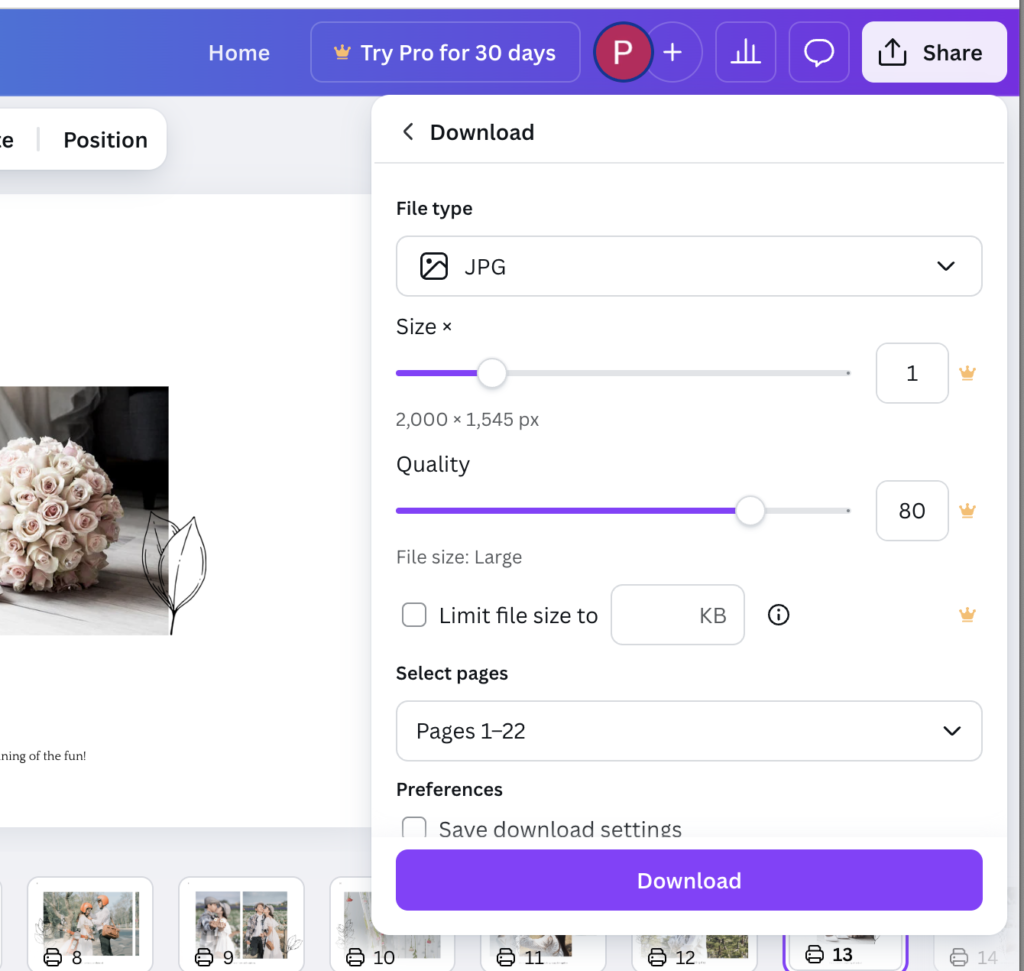
- Free users can download designs in JPG or PNG
- Canva Pro users can download high-resolution PDFs with bleed and crop marks—ideal for printing
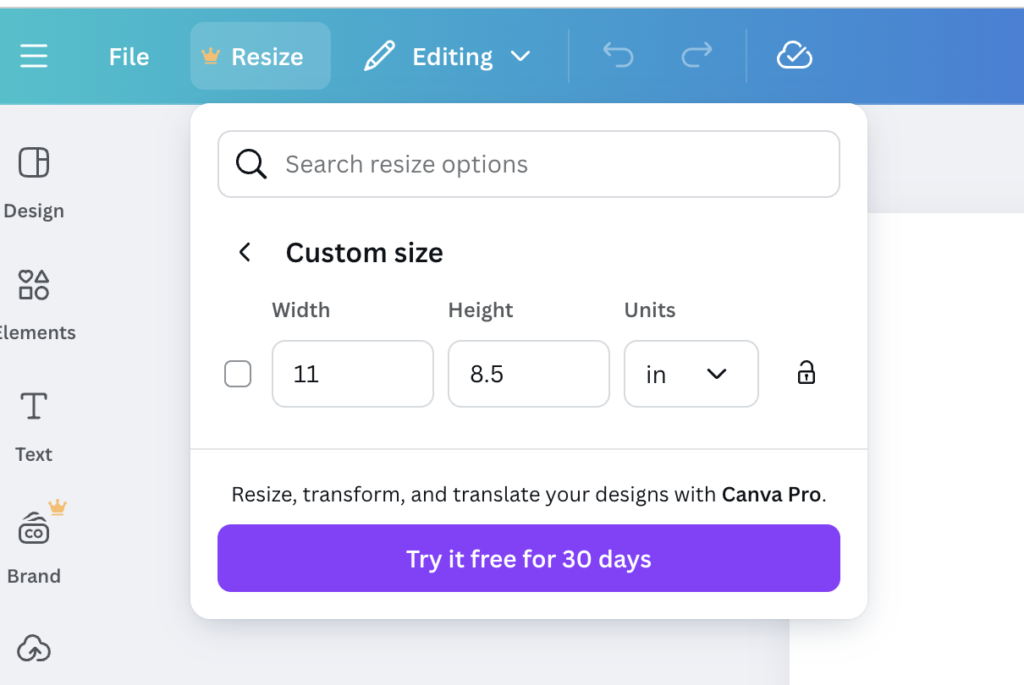
Photobook Sizes Available in Canva
Free Canva accounts offer limited sizing options, including:
- 8×8 inches (square)
- 11×8.5 inches (landscape)
If you want to use a custom size or match the exact dimensions supported by Photobook Canada, we recommend designing directly within the Photobook Canada platform.
How to Print with Photobook Canada
Once your design is complete in Canva, printing it with Photobook Canada is simple:
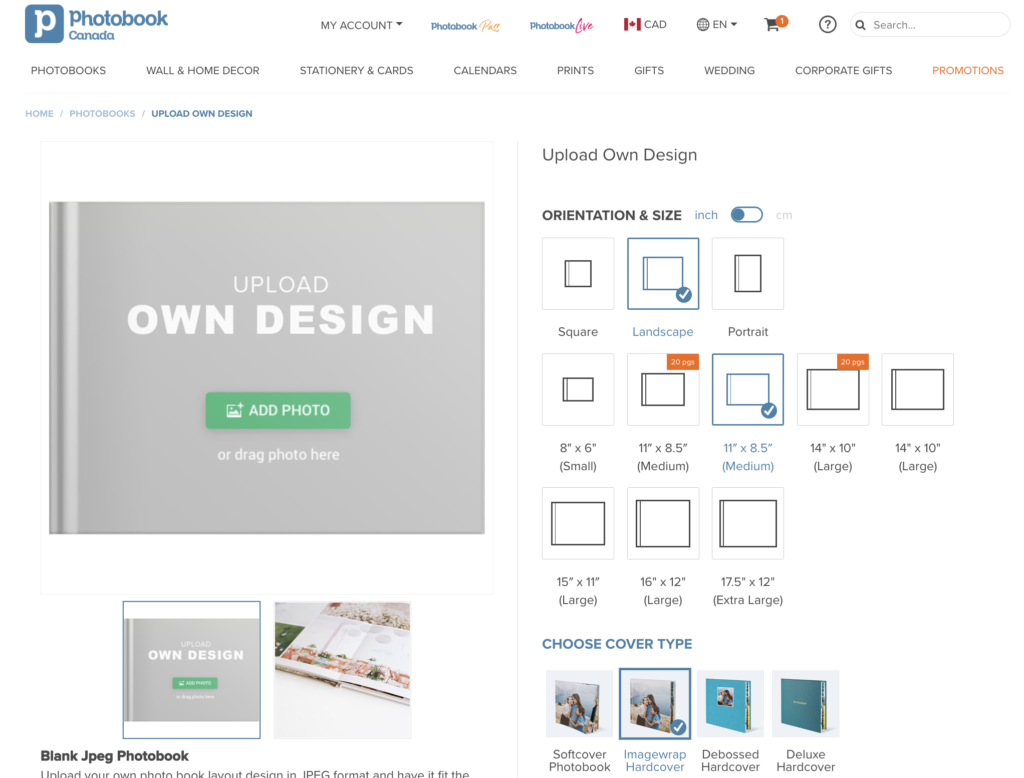
- Go to the Photobook Canada website
- Choose your book type (e.g., Softcover, Layflat) and match the size with your Canva design
- Select the “Upload Your Own Design” theme
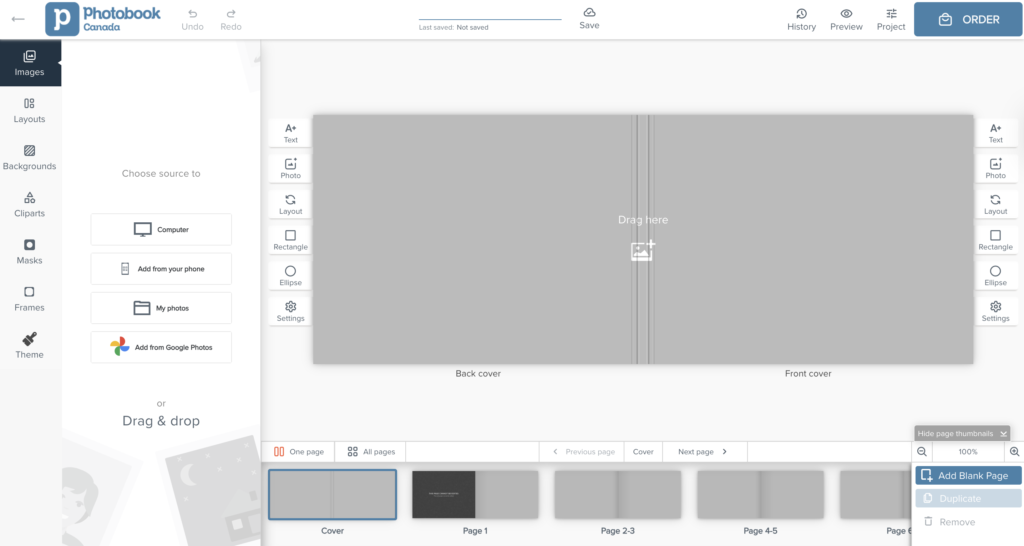
- Upload each JPG page in order and arrange them
After reviewing your final layout, you’re ready to place your order.
Tips from Photobook Canada
- Use photos with a resolution of at least 300 DPI for high print quality
- Leave a 5 mm inner margin to avoid important content being trimmed
- Double-check image sizes before uploading to ensure perfect results
Turn Your Memories Into Tangible Keepsakes with Photobook Canada
Combining Canva with Photobook Canada is a great DIY solution for anyone who wants to create meaningful photobooks without needing a professional designer. Whether it’s a heartfelt gift or a personal memory book, the process is simple—and you can trust Photobook Canada to deliver beautiful, high-quality results.